Introduction
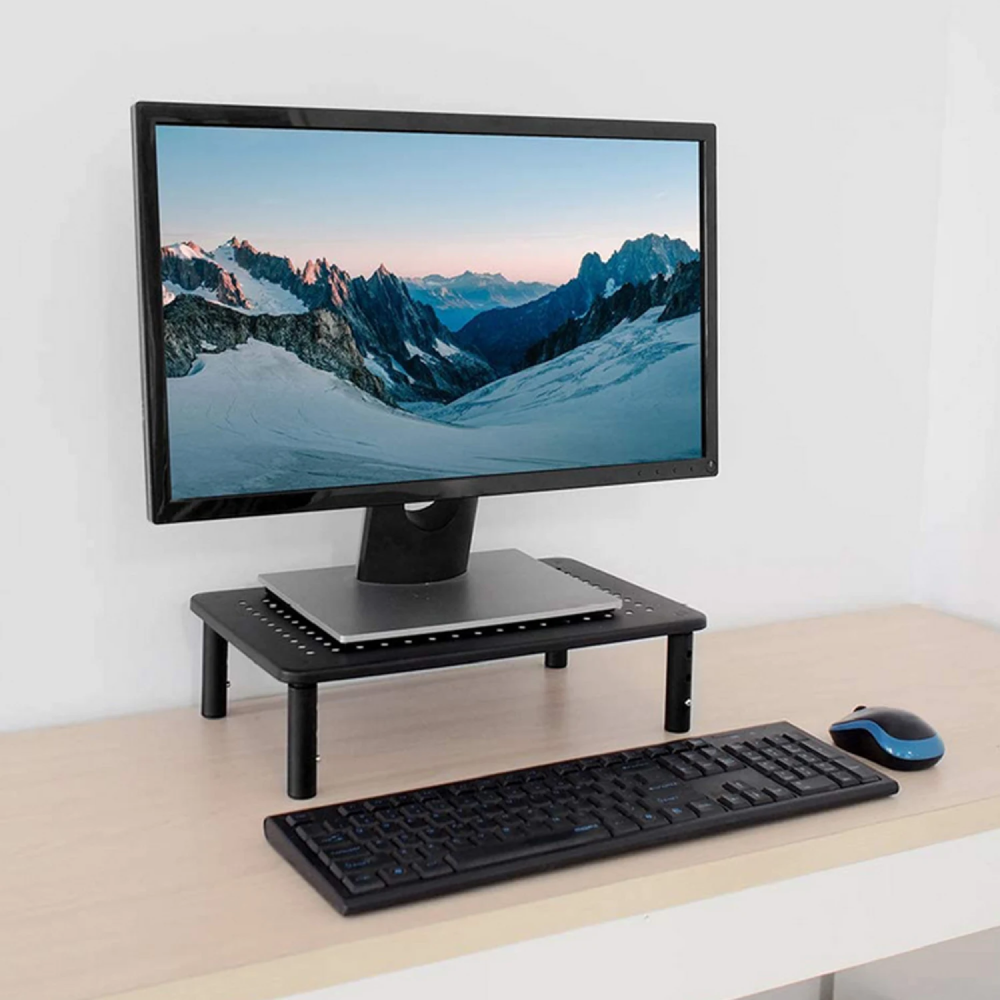
In today’s world, where ergonomics and productivity go hand in hand, having a computer riser stand is essential for maintaining a healthy workspace. Not only does it help improve posture, but it also reduces neck strain and elevates the screen for a better viewing angle. If you’re into
3D printing or have a 3D printer at home, you might want to design your own computer riser stand. This article will guide you on how to create a
computer riser stand 3D file, so you can print a customized riser stand for your workspace.
Why You Need a Computer Riser Stand
Before diving into the 3D file creation process, let’s first understand why you need a computer riser stand in the first place.
- Improves Posture: By raising your monitor to eye level, a computer riser stand helps align your spine, reducing slouching or craning your neck.
- Increases Desk Space: Many riser stands are designed to create extra space underneath, allowing you to store your keyboard, mouse, or other office supplies.
- Customizable: If you create your own 3D file, you can adjust the dimensions and design according to your needs.
Now, let’s get into the steps for creating your
computer riser stand 3D file.
Step 1: Planning Your Riser Stand Design
Before you jump into designing your 3D file, think about the following aspects:
- Dimensions: Consider your desk space and the size of your computer monitor. The stand should elevate the monitor to a comfortable height, usually around eye level when seated.
- Material: Choose the type of material that suits your 3D printer, such as PLA, ABS, or PETG. Each material has different properties, including strength and flexibility.
- Design Style: Do you want a minimalist design, or something with extra compartments for storage? Sketch your design to get a clear idea of what you’re aiming for.
Step 2: Choosing the Right Software
To create a
computer riser stand 3D file, you’ll need a 3D modeling software. Some of the most popular ones include:
- Tinkercad: A user-friendly, web-based platform perfect for beginners.
- Fusion 360: A more advanced option with detailed tools for precision modeling.
- Blender: Ideal for those who want to create more complex or organic shapes.
Step 3: Designing the Riser Stand
Now it’s time to bring your design to life. If you’re using software like Tinkercad or Fusion 360, start by creating the basic structure—two or more legs that will support the surface of the riser. Add a top surface that will hold your monitor. You can also include additional features, like cable management holes, or even compartments for storage.
Step 4: Exporting the File
Once your design is complete, it’s time to export the file. Most 3D modeling software will allow you to export your design in formats such as STL or OBJ, which are compatible with 3D printers. Be sure to check the dimensions and ensure everything fits correctly before proceeding to the next step.
Step 5: Printing the Riser Stand
Load the exported file into your 3D printer software (such as Cura or PrusaSlicer) and set the appropriate print settings based on the material you chose. Ensure your 3D printer has enough filament and space to print the entire stand. Finally, start the print process and wait for your custom computer riser stand to take shape.
Step 6: Assembly and Finishing Touches
After the stand is printed, it may need some assembly or minor finishing touches. Sand down rough edges, and if necessary, add non-slip feet to the bottom of the stand to prevent it from sliding on your desk. Now, your custom 3D-printed riser stand is ready to be used!
Conclusion
Creating a
computer riser stand 3D file can be a fun and rewarding project. It not only allows you to customize the stand according to your workspace needs but also provides an excellent opportunity to explore 3D modeling and printing. By following the steps outlined in this guide, you can easily design and print your own riser stand to enhance both your desk’s functionality and your overall comfort.
FAQs
What is a computer riser stand?
A computer riser stand is a device used to elevate a computer monitor to eye level, improving posture and reducing neck strain.
Can I use any 3D printer to print a computer riser stand?
Yes, most 3D printers can handle the materials required to print a computer riser stand. Just ensure your printer has enough build volume for the design.
What software do I need to create a 3D file for a riser stand?
Software like Tinkercad, Fusion 360, or Blender can be used to design a computer riser stand.
What material should I use to print the riser stand?
PLA, ABS, and PETG are commonly used for 3D printing riser stands. PLA is a great choice for beginners due to its ease of use.
How long does it take to print a computer riser stand?
Printing time depends on the size and complexity of the design, but it typically takes between 4 to 12 hours.

Post Comments